Showing posts with label upcycle. Show all posts

Friday, February 8, 2013

Dining Room Buffet

Studies show it's hard to hold a glass and open a bottle of wine at the same time. That's why horizontal space is so important. Also, I'm tired of the dog eating the pieces of broken crayon that my daughter leaves all over the house. Storage for supplies is also important. Enter the solution: Half buffet, half dresser, half wine fridge: 100% improvement!

Befores

A craigslist find for $75 included all three pieces of a vintage 1973 Sears and Roebuck "Isabella" bedroom set. I loved the pulls. My friend said they look like Shogun sword grips.


This set needed some serious cleaning. It had spent many years in close quarters with a heavy smoker. Also, it isn't made of real wood. The raised parts are plastic.


I decided to try an antique finish for the pieces because of the funky faux wood detailing. Deglosser, TSP, scrape, brush primer (x3 coats), Rustoleum Spray finish paint in Antique White (x2 coats), Van Dyke Brown Glaze coat, water based poly coat. Whew! That's a lot of coats!


Next I had to raise up the dresser so it would be even with the fridge. Creative use of 2x4s and some appliance feet got everyone level.

Added a 96" birch veneer top. I did this leaf motif design on the birch which took a couple hours. Me, not so good with the leafy-hand drawn stuff. Sigh. I decided it looked horrible and ended up covering it with a brown kraft paper decoupage top instead. That came out pretty well and will be durable. Then I cleaned and polished every single handle, screw and back plate. Painted the frames to match the rug, moved in some lamps, dusted and wiped and presto! Place your hands on your hips, stand firmly akimbo and smile. Say, "I made this," and feel proud.

Afters

Dresser to buffet:


Storage Chest:


Nightstand--now with Plant!
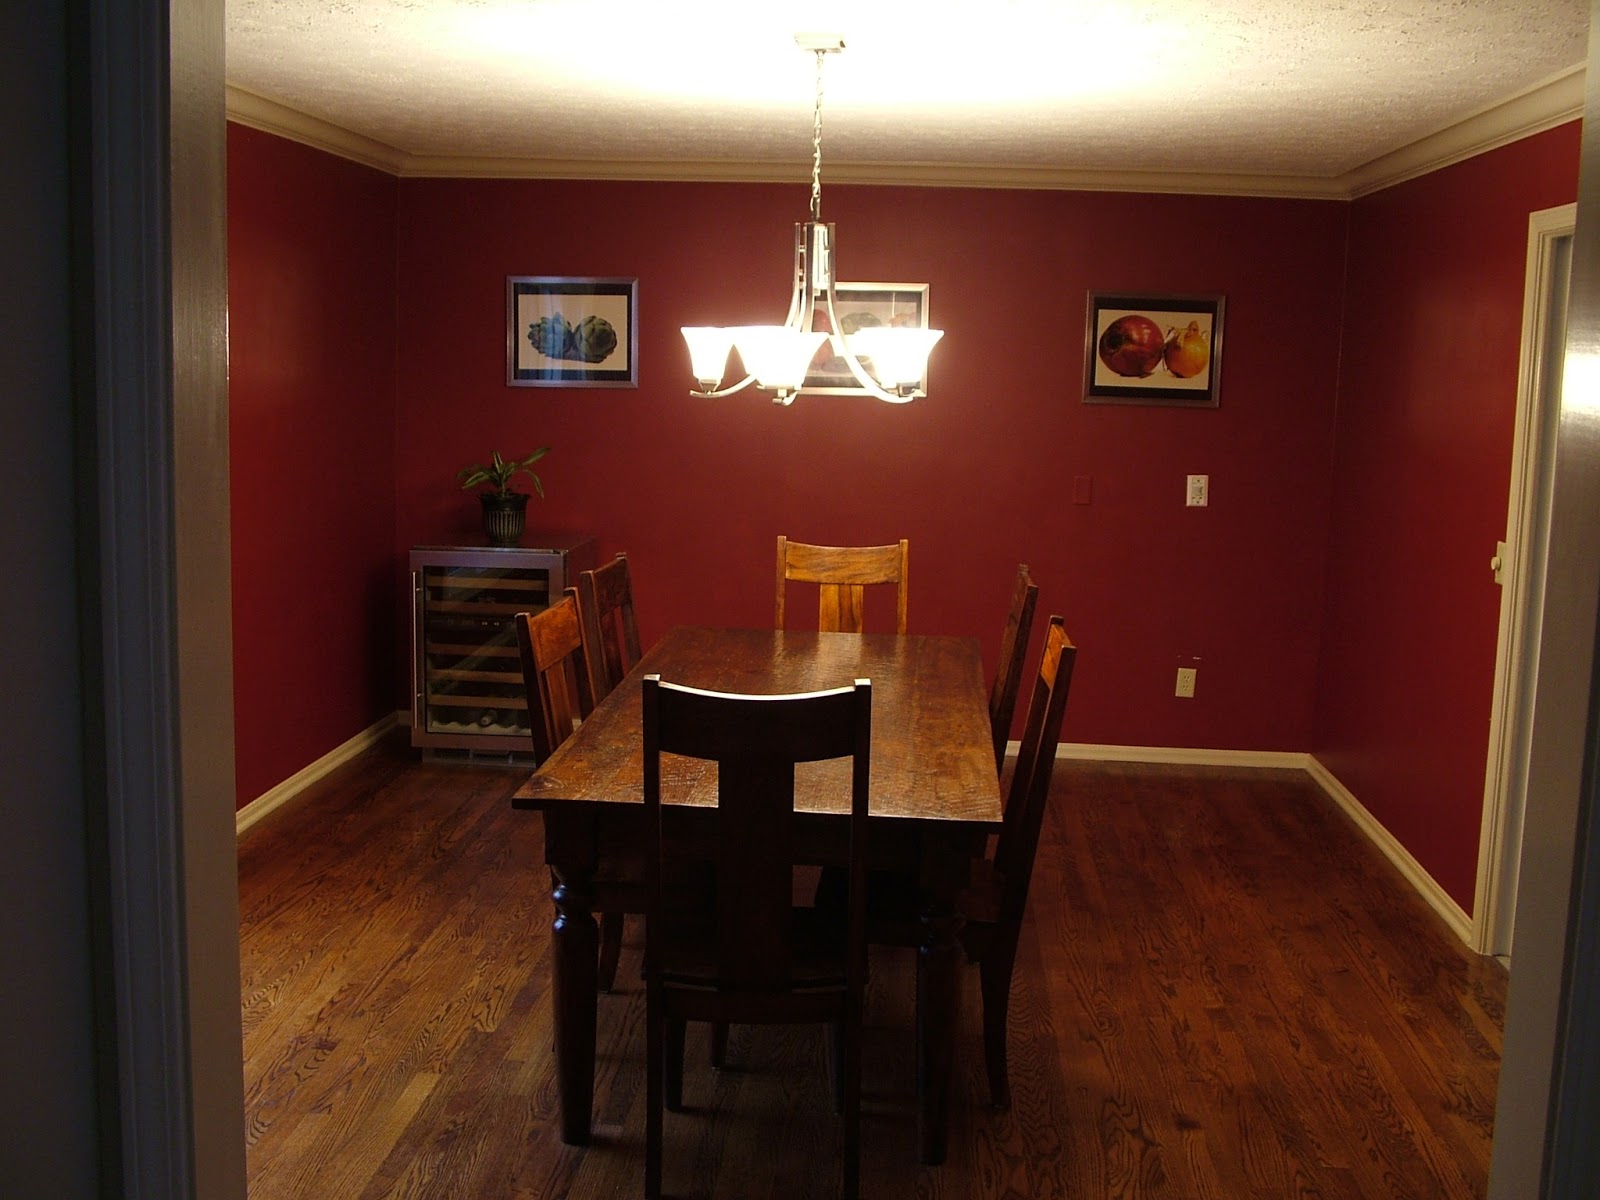


And the room:


Thursday, January 17, 2013

That's Not What That's For

My master bathroom was a disaster when we first bought the house. As I have described previously, it was like "Dynasty" and "Miami Vice" had a baby--lots of gaudy brass, giant crystal knob handles, peach tiles with  curly-Q motifs. It featured a pink countertop and pink walls. It needed an update, but my money pit had sucked up all my disposable income. What to do?


At first, I just decided to paint everything, swap in new faucets and a toilet, and live with it for a while. We lived with it for another 3 years in a soothing grey. With some lingering brass.

One day, I decided I'd had enough. Ignoring my family for a good two weeks, I embarked on redesign that broke several laws of nature. Yes, I realize vinyl floor tile is for floors, but I put it on the counter. I know that's not what it's for, but hey, it's real wood and it's waterproof, and I had some. I used brown paper to carefully map the layout. Score and snap was sufficient for most of it, but I also used a large rasp/file to neaten up the curves.


Also, that nice pewter colored paint that looks so nice on your late model GM also looks nice re-coating all the metal of my shower and tub. The shower surround was repainted in "Pewter Metallic" auto paint. Tape, sand, sand more, scrape everything, clean, spray primer filler, top coat x 2. Thanks to Addicted2Decorating for step by step instructions.


Picked up some clearance decor items, spray painted some frames, printed out artwork, and that's a wrap. The vanity, with all new doors and hardware after.
before

after

before

after

The middle drawers are actually baskets you can just remove. I keep makeup in there so I can pull it out and dig through it on the counter.


And the shower/tub area:

I like the free images from the Library of Congress:


Dresser Makeover

My dad's old dresser had two large gouges that couldn't be repaired. So, I figured if you can't beat 'em, join 'em. I added more scratches and it turned out rather tribal. Here is how it looks when you buy the dresser from a discount furniture retailer:


Mine had a ton of scratches even before I started messing with it:

After repairing a broken foot and drawer rail, I removed all drawers and took off the pulls. Then, using a soldering iron I scored lots of lines on each facet of the drawer. I had to work slowly to burn through the "cherry" veneer. Then, I cut pieces of 2" x 24" x 3/4" poplar for handles. I used a utility knife to whittle off all the straight edges of the poplar pieces to give them a rough hewn sort of look. Then I stained and polished the whole thing, handles included, with Briwax, the world's most awesome wood product. Attach handles, and presto!